Editing Pages in Cascade
Overview
Western uses a tool called Cascade to manage its websites. By hosting your webpage or website in Cascade you will have a website that matches Western's corporate template. (i.e., fonts, colours, layouts)
WTS maintains a tutorial website on Cascade with detailed instructions on tasks such as creating a website, editing a page, publishing a page, and examples of various types of content.
This page is intended as a quick reference guide to help you get started and accomplish some common tasks.
Editing a Faculty Bio Page
This example shows how to edit a Faculty Bio page of a Computer Science Professor.
Your UWO account needs to be added to the Cascade system to grant you permission to edit your page. Please submit a STS helpdesk ticket at https://helpdesk.sci.uwo.ca/ and provide your UWO id, and the URL of the web page you require access to.
Login
In your web browser, go to cms.uwo.ca to login to manage various your designated pages.
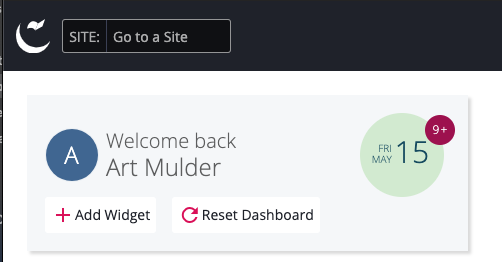
One you authenticate, click the "SITE: Go to a Site" button in the top-left corner of your web page to choose your website. It will pop up a list of Websites that you have rights to access. For CS Faculty the site will be the current Computer Science website (Currently "Computer Science 2017").
Navigating to the Page
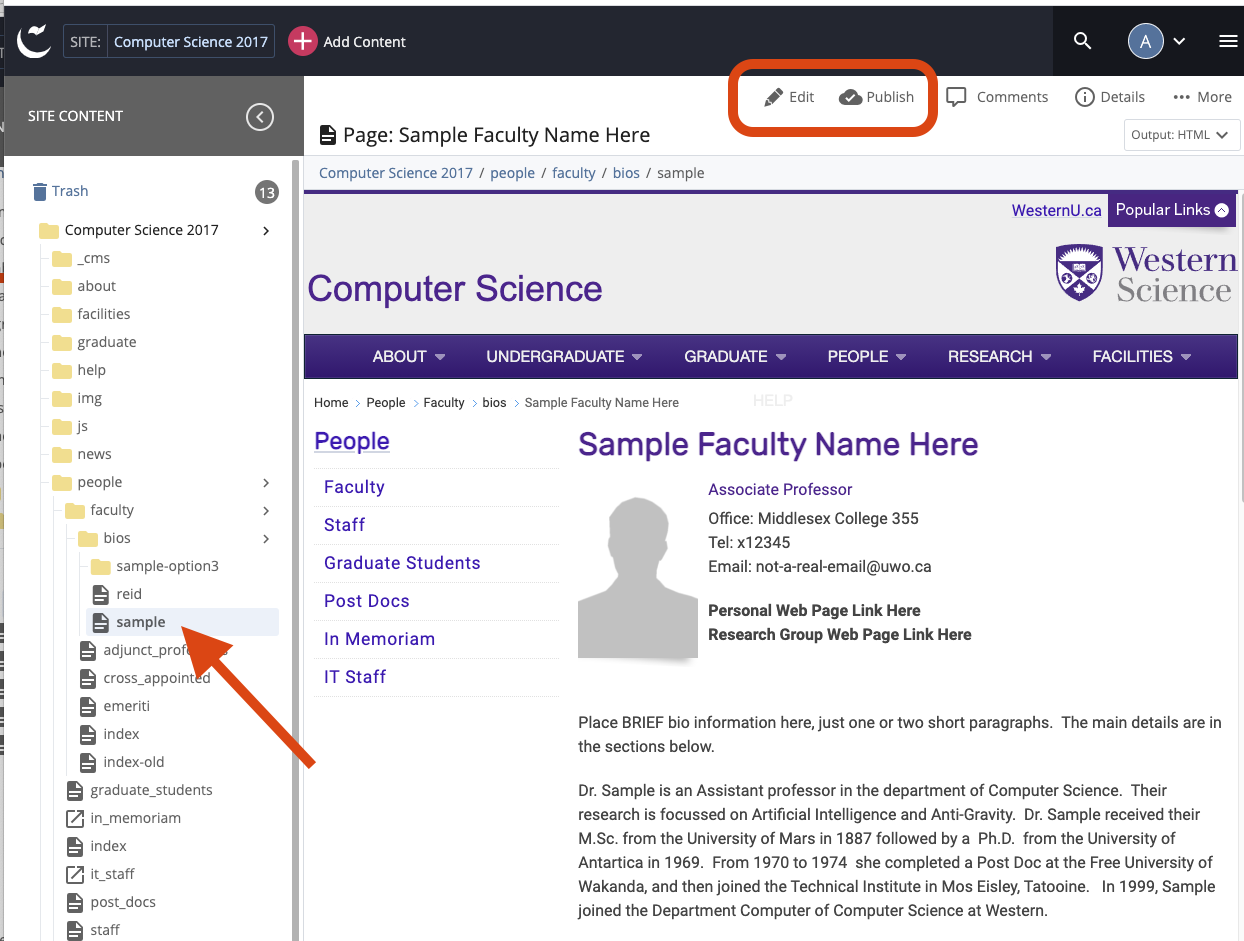
Once you have logged in and connected to your website, you will see a page that looks like the one shown below. Along the left side is a tree-type listing of the entire website content. You can see other pages on the website but you will only be able to edit pages where your UWO ID has been granted permission.
To edit your bio page, navigate to "Computer Science 2017 / people / faculty / bios / YOUR WEB PAGE." In this example we are editing the page named "sample."
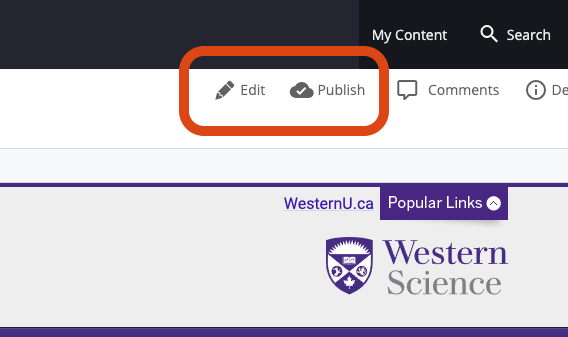
Cascade will display a rendering of your page in the right-hand side of the window. Click on "Edit" in order to make changes to the page.
Editing the Page - Basic Info
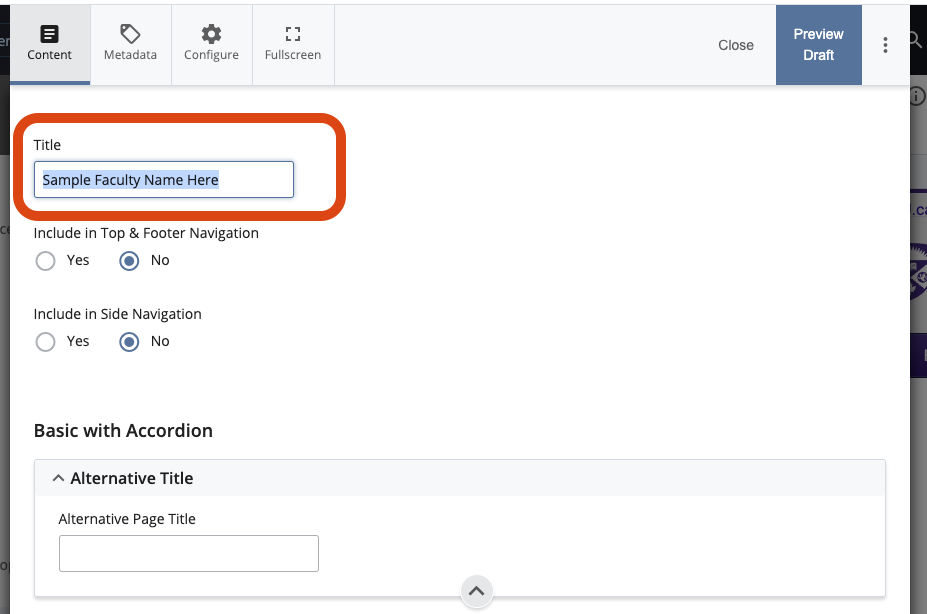
After clicking Edit, Cascade will pop up the Editing window. It is a long window with a lot of information in it. We are just looking at the basics.
At the top of the window there is very little to change other than the Title -- here is where your name is entered.
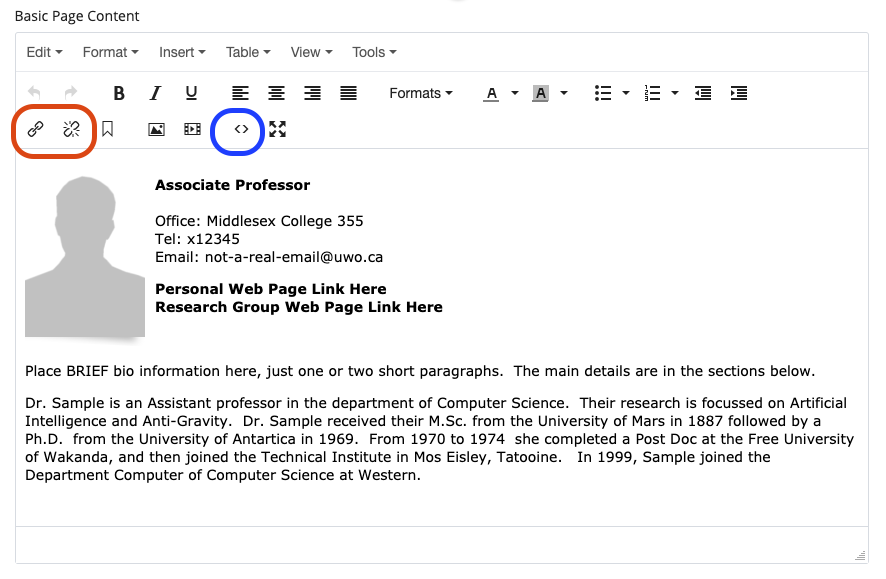
If you scroll down you will see the main editing window for the top section of the Faculty Bio page. This is a word processor type of editing window. It supports bold, italic, lists, and so on. If you "hover" your mouse over the different icons, a tiny little pop-up window will tell you what each one does. For instance, the four arrows icon to the right of the "<>" will allow you to work in full screen mode. For example if you select some text, and then click on the "Format" menu, and choose the format sub-menu, you can create a heading.
I want to draw your attention to the icon that looks like a chain, or a broken chain (outlined in red on the image below). Those are the buttons to create/edit or delete a webpage link. Also the icon that looks like "<>" (outlined in blue) is the button that will pop up a "source code" editor which lets you edit the raw HTML of this chunk of web page. Sometimes it is necessary to look at the raw HTML.
Editing the Page - Accordion
The bottom section of the Faculty Bio page is what is known as an "accordion" block. In Cascade, this block is stored in a separate location, and it is linked into the bio webpage here. Click on the "down-arrow" to expand this section of the page.

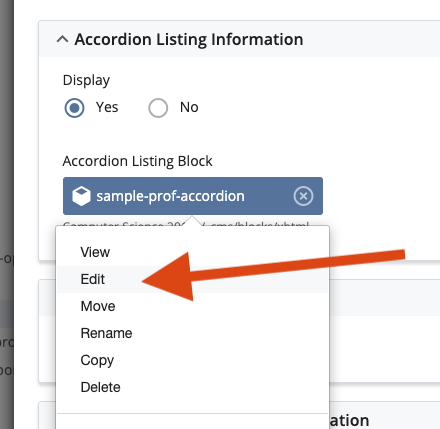
This now reveals the Name and location of the Accordion block. (The name should be "accordion-SURNAME") The actual directory location of the block is listed under the name -- click on the three ellipses to expand the full name, which reveals that this block is located at "Computer Science 2017 / _cms / blocks / xhtml / faculty / sample-prof-accordion". (So you could also access the Accordion block by navigating to that location in the directory tree but it's more straightforward to just access it from within this page.)

Now RIGHT-click on the the block link and Cascade will pop up a context-menu that lets you cick "edit".
WARNING: you need to have FIRST SAVED any changes that you've made to the rest of the page before you edit the accordion block. Otherwise Cascade will pop up a warning that your changes are unsaved. (The procedure for saving is explained at the bottom of this page.)
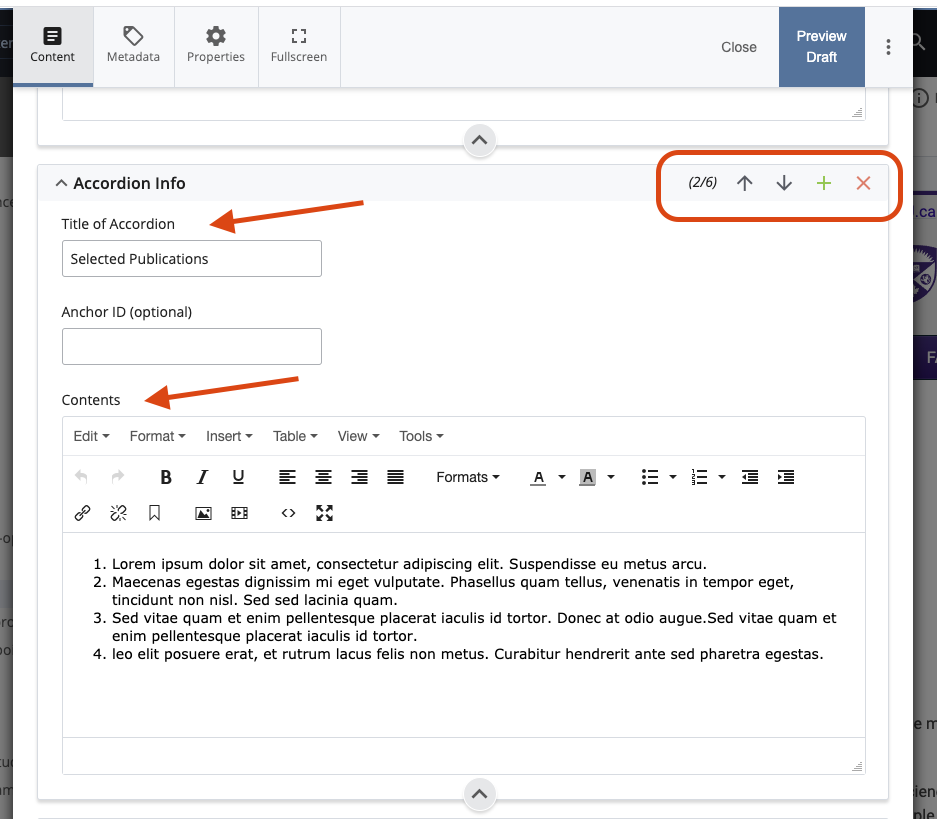
The Accordion Block is ridgidly structured, where everything must fit a specific format. It's editing page is presented as a series of boxes, one for each accordion item. The image below shows the second item in an accordion list. The red arrows along the left indicate the Title of the accordion item, and a Content section. The content section is another "word processor" type of editing box. The red box at the top right outlines a number of important facts. First, the position of this accordion item is noted as position 2 out of 6. Next, the up and down arrows will move this accordion item up or down in the list. In order to maintain consistency in the look of the different faculty bio pages, PLEASE DO NOT rearrange the accordion order without first discussing this with STS or the CS Office. Finally, the "+" will let you add an accordion item after the current one, and the red "X" will delete the current accordion item.
Saving Changes
Cascade has a lot of protections built in to protect and save your work, including keeping an audit trail of changes made to your files. As such, saving your work is by default a multi-step process. When you are finished editing a document, you can click the large blue "Preview Draft" button at the top of the page. This will save a draft of your page, and show you a rendering of what the document will look like. If you are satisfied you then click the "Submit" button at the top of the screen. (Or the Discard button, or the Edit button, depending if you want to toss your changes, or edit some more.) Clicking "Submit" now makes your saved document the "main" version of your page, and it is ready to be published to the web server.
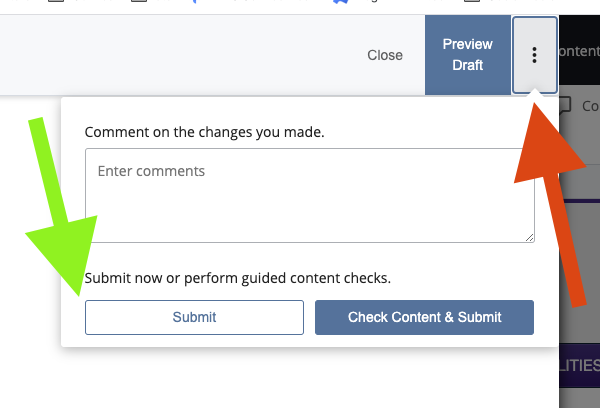
I recommend a short cut to the above. When you are finished editing your page, click the three dots menu beside “Preview Draft” and then click the “Submit” button. This skips the "draft version" step and goes directly to saving your work as the "main version". (You could also click "check contents and submit" which has Cascade do some behind the scenes reviewing of your page HTML, but it then requires you to click again to confirm, so it adds a step.)
Publishing the Page
Once you are finished editing your page and are satisfied with it's new content you need to publish it, in order to push it from the Cascade system to the Web Server so that it is now "live".
Click the Publish Link at the top-right of your Cascade window.
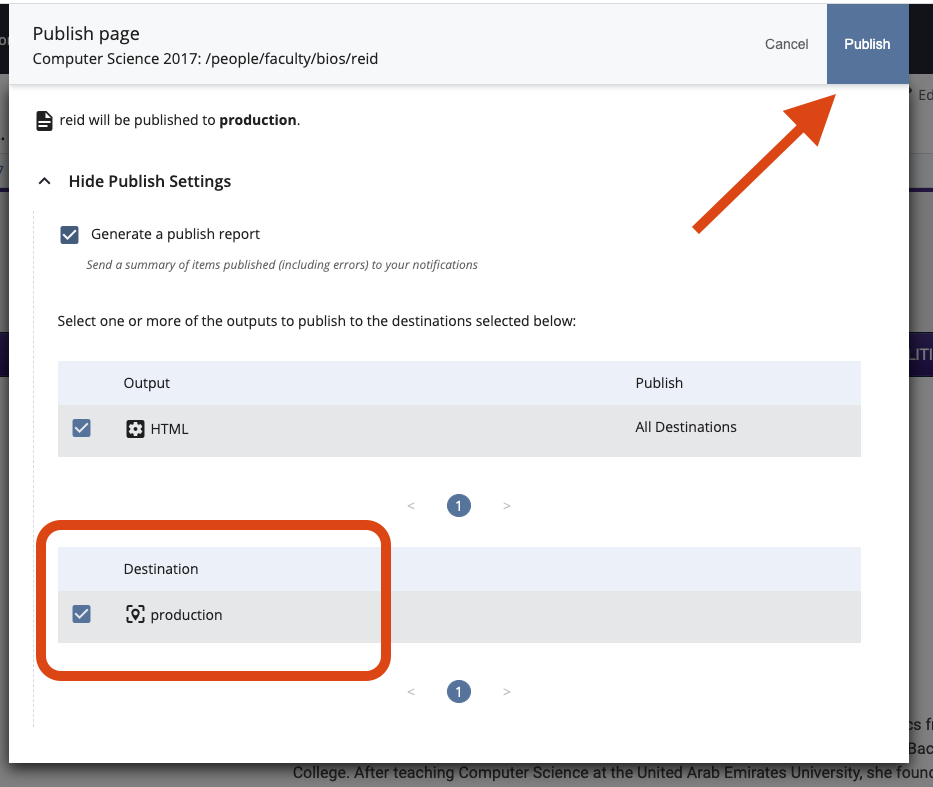
Cascade will then pop up the Publishing window. The "Production" destination should be checked, and then you can click the blue "Publish" button at the top right. This will add your page to the publishing queue in Cascade as it renders your page into HTML and then copies it to the web server. This may take a few minutes depending on if the system is already copying files to other websites.