Connecting to a Campus System via Remote Desktop (macOS)
Overview
This tutorial is for members of Science seeking to establish a Remote Desktop connection to a campus PC/server without having VPN access.
Audience
This tutorial is written for:
- Members of the Faculty of Science (faculty/staff/student)
- Those comfortable with computers and installing/configuring software
Prerequisites
To complete this tutorial, you must:
- Have a PC or server on campus that is already configured for Remote Desktop connections (including having the service enabled and the correct firewall ports open)
- Know the hostname or IP address of the PC or server on campus to which you wish to connect
- Have requested and been approved for access to gate.sci.uwo.ca
- Be running macOS Catalina (10.15) or higher.
Tutorial
- Install Remote Desktop on your computer.
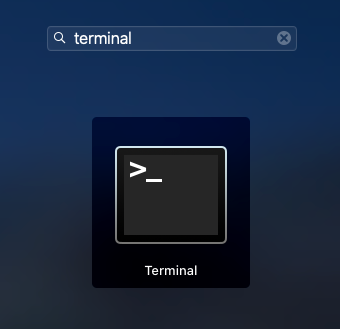
- Press F4 to open the Launchpad. Search for
terminaland click the icon to launch the application.
- Execute the following command to establish an SSH tunnel, replacing mypc.uwo.ca with the hostname of the PC or server on campus to which you wish to connect, and username with your Western username.
ssh -L 9000:mypc.uwo.ca:3389 username@gate.sci.uwo.caThe example above assumes you have a PC on campus named mypc.uwo.ca that is listening on the default Remote Desktop port of 3389. To connect to this host, you will connect to port 9000 on your home computer once the tunnel is established.
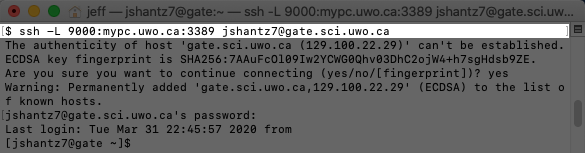
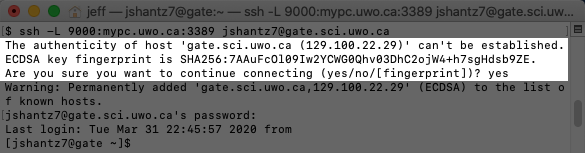
- If you receive a warning about the authenticity of the host, type
yesand press Enter. This is normal and expected when first connecting via SSH to a host.
- When prompted, enter your Western password. Note that you will not be able to see what you are typing when entering your password.
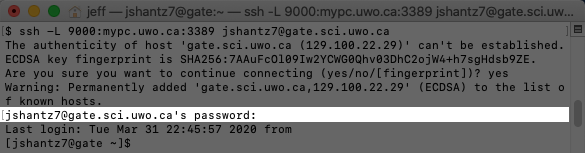
- Once logged in, leave the Terminal window open.
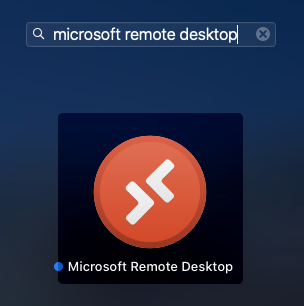
- Press F4 to open the Launchpad. Search for
Microsoft Remote Desktopand click the icon to launch the application.
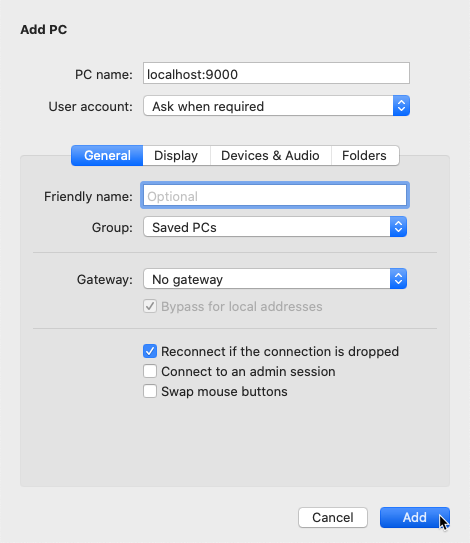
- Click the + button at the top and select Add PC.

- In the PC name field, enter
localhost:9000and click Add.
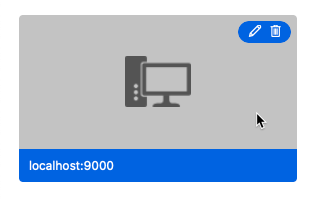
- Double-click the localhost:9000 entry.
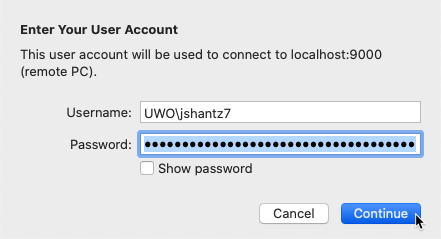
- When prompted for account credentials, enter the username and password you normally use to authenticate with the PC or server and click Continue.
Important: If the computer/server to which you are connecting is joined to the UWO Windows domain (that is, if you usually log in with your Western username and password), then enter your username asUWO\username, whereusernameis your Western username. See the screenshot below for an example.Otherwise, if the computer/server to which you are connecting is not joined to the UWO Windows domain, simply enter the username that you normally use to log in.
- If you receive a certificate warning, click Continue.
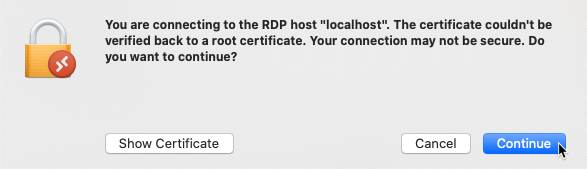
- You should now be connected to the remote system via Remote Desktop.
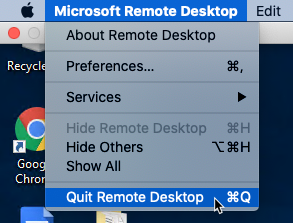
- When you are finished with your session, close Remote Desktop by selecting Microsoft Remote Desktop > Quit Remote Desktop from the main menu bar.
- In the Terminal window, type exit and press Enter.
