Connecting to a Campus System via VNC (Windows)
Overview
This tutorial is for members of Science seeking to establish a VNC connection to a campus PC/server without having VPN access.
Audience
This tutorial is written for:
- Members of the Faculty of Science (faculty/staff/student)
- Those comfortable with computers and installing/configuring software
Prerequisites
To complete this tutorial, you must:
- Have a PC or server on campus that is already configured for VNC connections (including having a VNC server enabled and the correct firewall ports open)
- Know the hostname or IP address of the PC or server on campus to which you wish to connect
- Have requested and been approved for access to gate.sci.uwo.ca
Tutorial
- Install TightVNC Viewer on your computer and launch it.
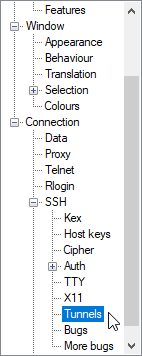
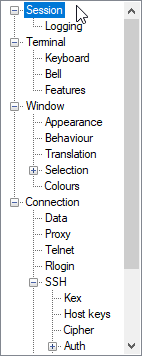
- In the left pane, expand the Connection and SSH nodes and select Tunnels
- Populate the following fields, replacing mypc.uwo.ca with the hostname of the PC or server on campus to which you wish to connect
Source port 9000Destination mypc.uwo.ca:5900The example above assumes you have a PC on campus named mypc.uwo.ca that is listening on the default VNC port of 5900. If your VNC server is listening on a different display, you will need to modify this port number accordingly. For example, to connect to display
:1, you would choose port 5901.To connect to this host, you will connect to port 9000 on your home computer once the tunnel is established.
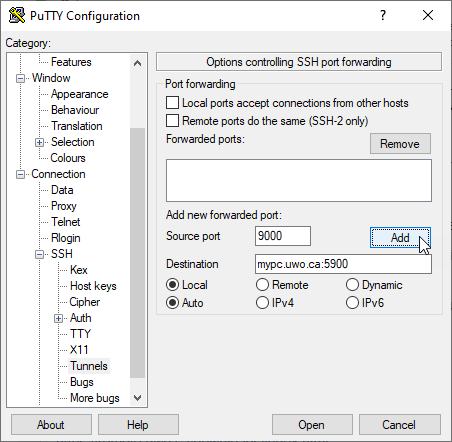
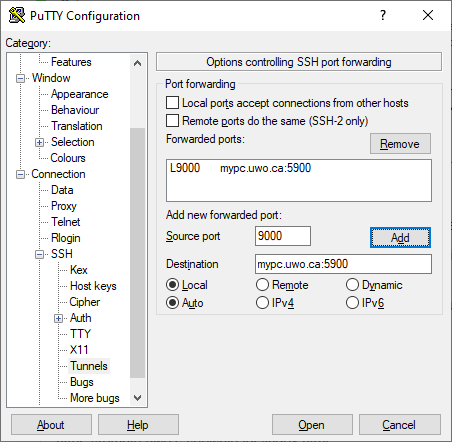
- Click Add. The port mapping should appear under the Forwarded ports heading.
- In the left pane, scroll to the top and select Session.
- Populate the following fields:
Host Name gate.sci.uwo.caPort 22Connection type SSH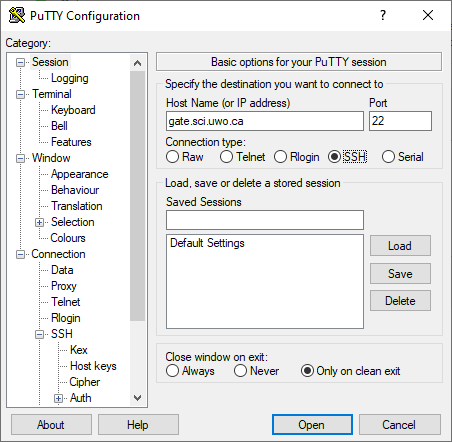
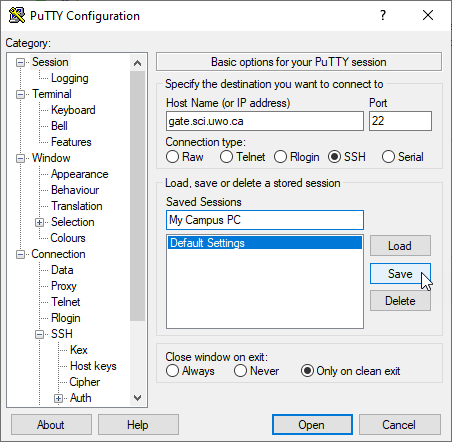
- Enter a descriptive name in the Saved Sessions field (such as My Campus PC) and click Save.
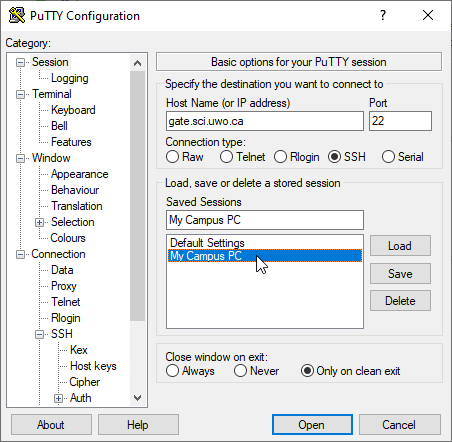
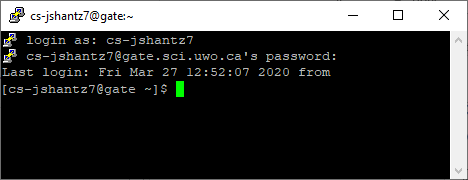
- Double-click the session you created earlier in the Saved Sessions list to connect to gate.sci.uwo.ca.
- When prompted, enter your Western username and password. Note that you will not be able to see what you are typing when entering your password.
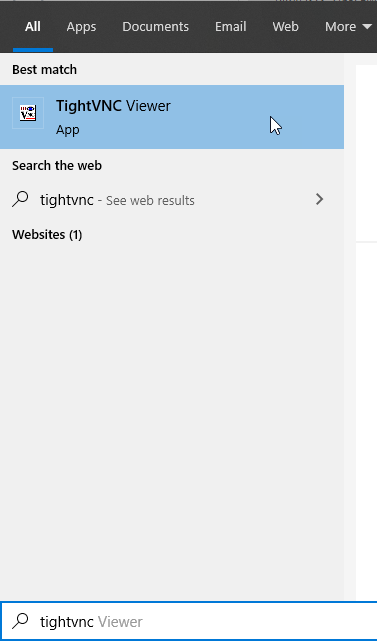
- Leave the PuTTY window open and open the Start menu. Search for TightVNC Viewer and launch it.
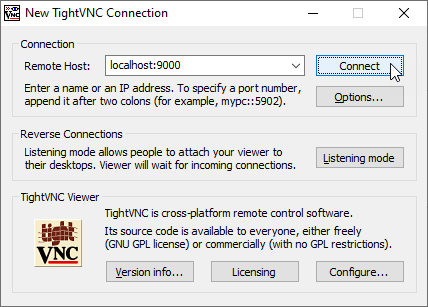
- In the Remote Host field, enter
localhost:9000and click Connect.
-
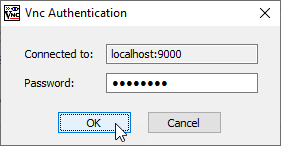
Enter the VNC password that you configured on your campus PC or server and click OK.
- You should now be connected to the remote system via VNC.
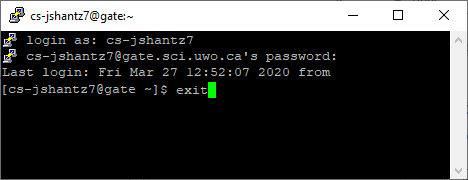
- When you are finished with your session, close TightVNC Viewer and switch back to the PuTTY window you left open. Type
exitand press Enter to log out.